Time to tell the humble nail that it’s on the way out. Hanging picture frames without nails is the norm now. It comes with a whole host of benefits for your interior design and precious time.
Unsightly nails leave holes in your walls to be filled later, should you decide to move your gallery wall to another position. This could spoil the look of your perfectly painted, dramatic accent wall. Hanging frames without nails gives you more flexibility with less damage.
What Are Command Strips?

Image: command.com
Command Picture Hanging Strips are the innovative solution to your gallery wall layout needs. They’re easy to use and secured using a special adhesive.
Command strips are perfect for high-traffic areas, such as hallways and stairs, and for busy homes with children and pets. The strips keep your artwork where it should be, decreasing the likelihood of any damage and accidents.
No need to worry about your art prints flying off their nails on a day of madness, or getting knocked and becoming skewiff from a simple dusting. Command strips are safe and reliable, which is particularly useful when hanging glass picture frames such as ours.

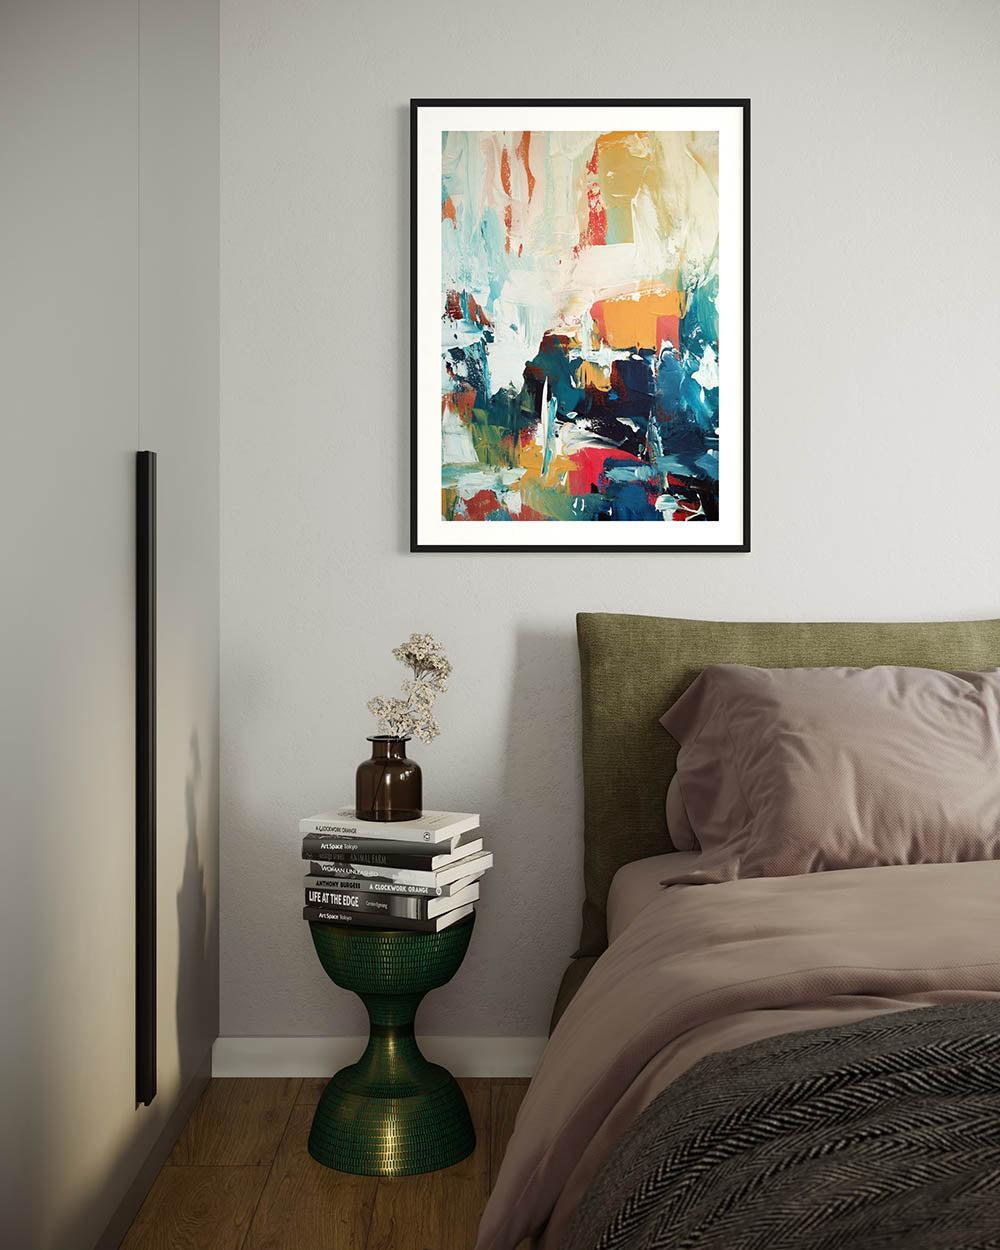
Artwork: Chronological Abstraction Gallery Wall Set
All Abstract House wooden picture frames are handmade in our London studio to ensure the very best quality. Our durable solid wood frames give your fine art prints, memories, achievements, and an even more beautiful finish.
As one of the few UK art retailers to use real glass in our frames, your front glazing will be scratch resistant. Expect a crystal clear view for years to come. Keep your elegant, sophisticated frames safe with Command Strips.
How Do Command Strips Work
They work by attaching two halves of the same adhesive strip to your picture frame and then your wall, before locking them back together with a click. Use four per frame for maximum security, but do check the weight limit on the packets when deciding which Command Strips to buy.
How To Apply Command Strips

Image: Impressionist Coastal Scene - Print Set of 2
Creating a gallery wall with Command Picture Hanging Strips is a similar process to using nails. Although it’s easier to get the spacing between frames just right, which gives you a cleaner look.
Start by creating some frame templates out of cut paper or card and attach them to your wall using painter’s tape. You’ll be able to look at your gallery wall template from all angles - close and at a distance - and adjust the positioning of each frame until you get just the right balance.
Make tiny dots at each corner of all your frame templates with a pencil - and remember to use a really light hand. You can also make small lines or dots in the middle of each side too, just to be sure you’ve marked everything out. Then, remove your templates.
You’ll want to gently clean the wall inside your markings with rubbing alcohol before getting started on the strips. Separate the two halves of the strip first and then click them back together. It may seem pointless, but you’ll see why later.

Image: wikihow.com for command.3m.co.uk
Remove one side of green wrapping and secure two strips in the top corners of your frame. Follow the package instructions for placement and weight distribution. It’s essential the curved strip edge points downward for removal at a later date. If required, stick a further pair onto the back of your frame about two or three strip lengths below the top set.
Now you’re ready to place it on the wall. Remove the remaining green liners and line your frame up with your markings. Get two corners from the same side of your frame lined up with your guide marks and press the Command Strips onto the wall.
From here, with only one side secured, you should still be able to make slight adjustments to the angle of your frame. At this stage, the strips still have a little give. Use a spirit level across the top of your frame to get it nice and straight when going to secure the second side. Now you’ll want to press and hold your frame in place for at least 30 seconds.
You’ll be very tempted to think “job well done” and leave it at that now. But you need to let the strips cure so that they’re properly fixed.

Image: wikihow.com for command.3m.co.uk
Remove the frame from the wall by peeling it up and away using the bottom corners. Remember when we pulled apart the two halves at the beginning? That’s to ensure this part goes without a hitch.
Then you should press and hold the strips onto the wall for a further 30 seconds, making sure you’re putting pressure on the entire surface of the strip. Leave for a further hour before clicking and locking your frames back into place. Your pencil marks will help you line it up again.
Using this method for hanging frames without nails gives you a picture perfect gallery wall in no time.
Removing A Command Strip

Image: wikihow.com for command.3m.co.uk
A strip’s firm hold is broken by pulling slowly but firmly down on the toggle, but keeping your other hand on the strip. When doing this you should keep your hand as close to the wall as possible to ensure your pulling force is straight downwards.
Removal leaves no cracks, holes, or sticky residue. Command Picture Hanging Strips are ideal for a new paint job, or a rented home where you’re particularly worried about leaving any damage.
Follow our guide for an easy and effective way to hang a gallery wall without nails. It's a stylish solution for your home decor.