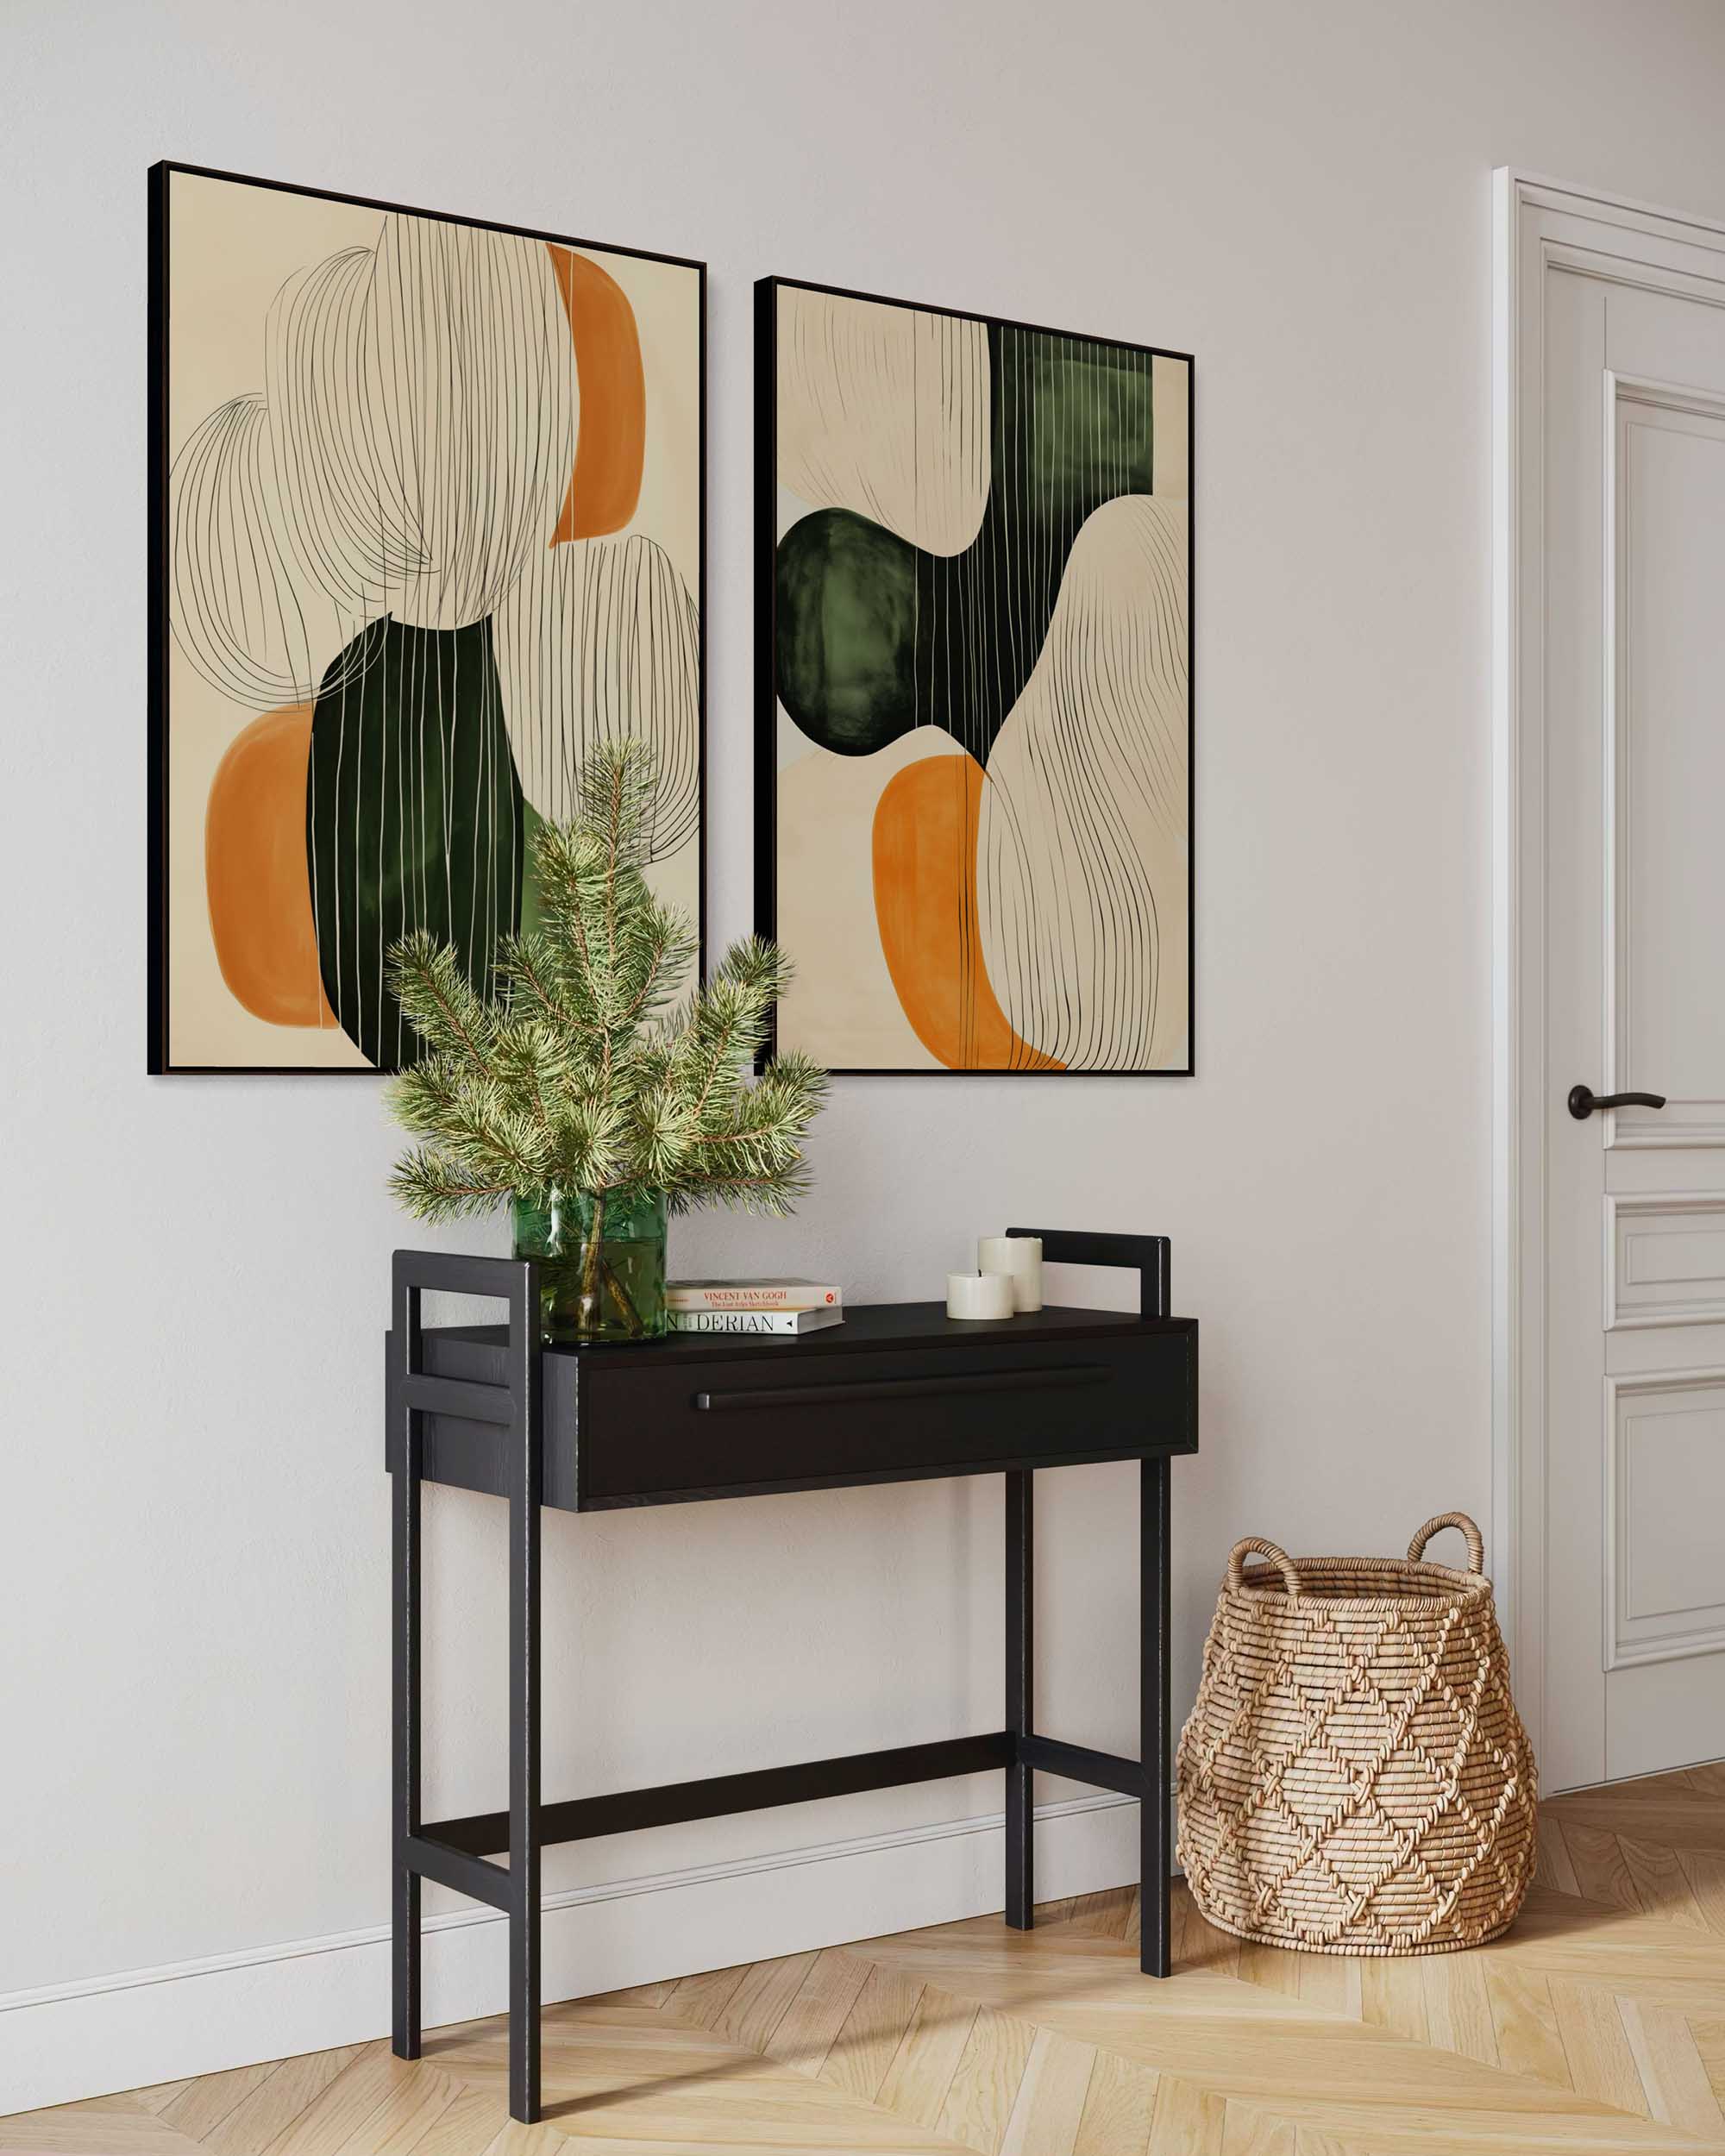
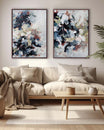
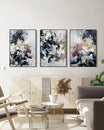
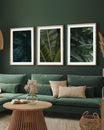
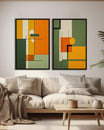
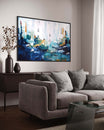
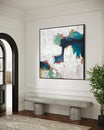
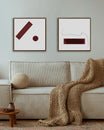
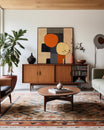
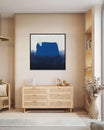
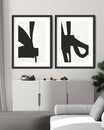
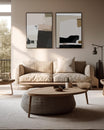
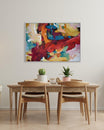
Find out how to frame pictures like a professional in our simple guide.

Framing a picture or piece of art is the best way to make your picture stand out and keep it looking beautiful. With so many different frame and mat options available, we're here to offer our expert tips on framing your picture perfectly.
____
Popular For You: How to find the best frame for your picture? Browse our bestselling picture frames here.
____
Framing your photos or artwork needn't be expensive or time-consuming. In fact, if you follow our simple guide, you could be framing pictures like a pro within minutes.

If you're framing your own photo, artwork, or other print, however, then it's going to be a DIY job. Firstly, and most importantly, you need to decide which type of frame you would like.
How Many Types Of Photo Frames Are There?
When it comes to online framing solutions, we're here to help. At Abstract House, we have access to thousands of different types of wooden moulding profiles and mount boards.
Since we only use solid wood moulding and glass for our picture frames (and zero plastic!), our most popular frames are the 70 x 100 cm Black Picture Frame (27.5 x 39 inch photo frame) and 50 x 70 cm Photo Frame.
Why Choose Sustainable Frames?
Sustainable picture frames are not only good for our planet, by using wood and materials sourced from sustainable forests, but they are also superior in quality. Our eco-friendly frames are handcrafted by our dedicated framing team here in the UK, and they come with real float glass, so you can visibly see and feel the difference with the quality of wood and finish.
Once you've figured out how to choose the right sized picture frame, you're going to need to frame your item.
Discover our simple guide to framing art and photographs, so you can get the perfect picture hung on your wall, and sit back and enjoy it for many years.
To Mount Or Not To Mount

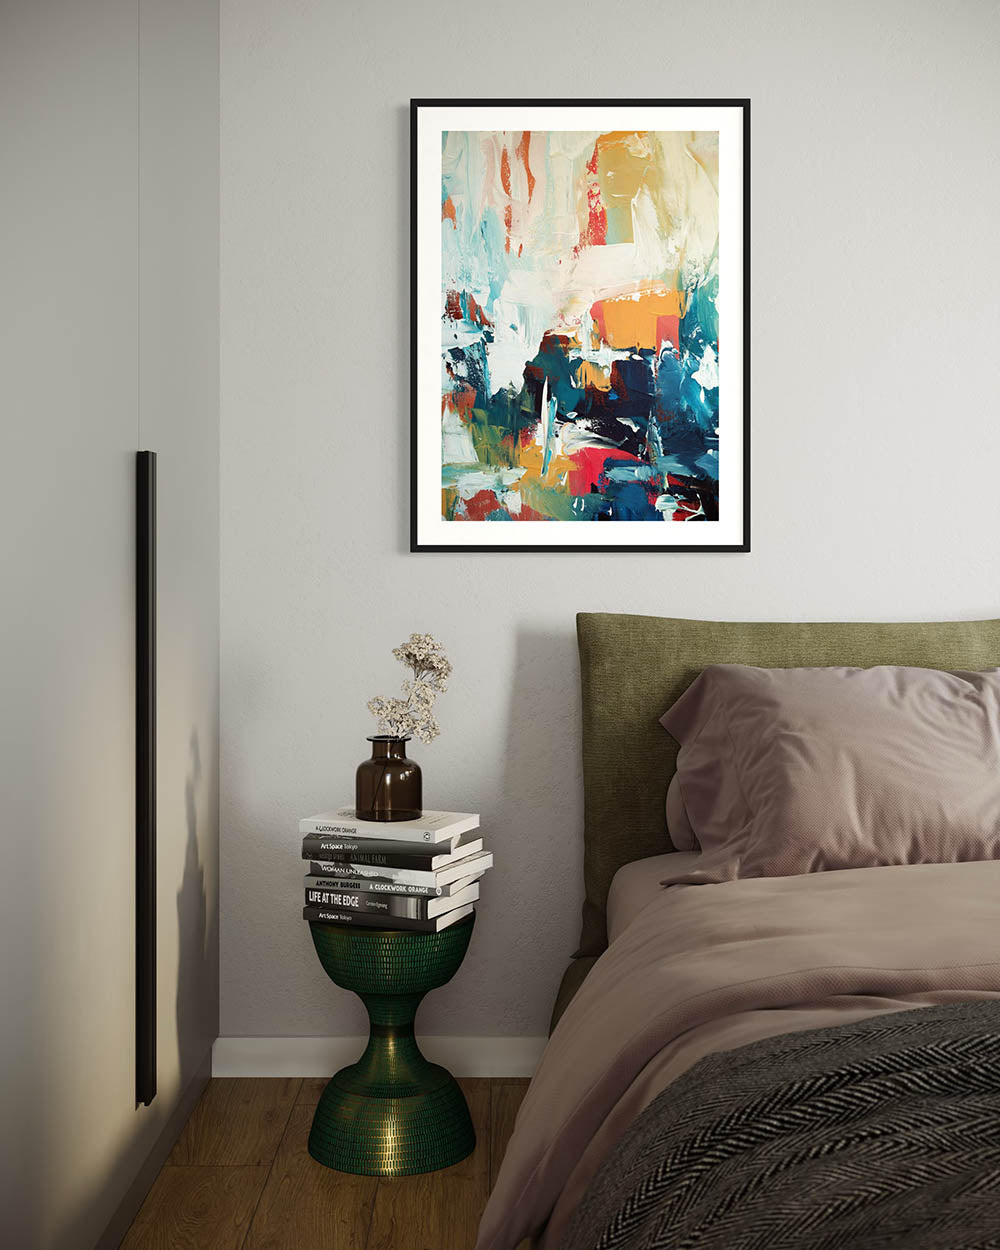
A mount (or passepartout) provides a classic border for your image. It sits under the glass of your photo frame, on top of your art print, photograph, or certificate for more protection and a classic framed look.
Adding a mount around your image means you also have to opt for a larger frame, as you don't want your print to be hidden), mounts can make your picture appear bigger. Plus, a white mount gives the illusion of a brighter image too.
We use a white quality mount board which is textured and handmade in the Lake District. It is hand-cut to fit our handmade wooden picture frames and fine art prints. But we can also provide custom mounts for your own pictures along with our bespoke framing service.
More people are also choosing to have no mount with their framed print to create a more contemporary style. With the image extending right to the edge of the frame, a mount-free option creates a bold, immersive look.
It's favoured by those with a more modern approach to framing art and continues to grow in popularity. You can simply choose which style fits you best.
Which Colour Mount Board Should I Choose?
Our signature frames come with a classic white mount board which is ideal for framing photographs and fine art.
However, if you want to be bold and create more of an impact with your art, or wish for the frame to match your bespoke kitchen or cabinetry, the easiest way to do this is by choosing a custom mount colour. With access to hundreds of different colour mount boards, from black to red, blue to yellow - our expert team can also colour match to Farrow & Ball and Pantone colours, such as Farrow & Ball Bancha, or M&L Paint Olive Green 39. Get in touch today to benefit from our free colour matching service and find out more.
Step-By-Step Framing
Watch our free guide on how to frame your art or pictures in Abstract House frames.
Step 1:
Remove the solid MDF backing by bending back each of the metal tabs on the back of the frame. Remove the back board and place to one side.
Step 2:
Remove the branded paper. If you selected a mount/passe-partout, remove the mount board out of the frame and save this for later.
Step 3:
Replace the glass in the same orientation as the picture frame and follow with the mount board.
Step 4:
Smooth out your print or photograph (face down so that the image faces outward) in the middle of the photo frame moulding, so your image is centred.
If you ordered a print that came rolled, simply unroll the picture. You can place some light books on top of the picture and leave them for a few hours to ensure it is perfectly flat before framing.
Step 5:
The final step is to return the wooden frame backing to its place. Just make sure the cord faces outward and is the right way up, with the hanging cord positioned towards the top of the framed image. Push all the tabs on the back of the frame down to hold the MDF backboard in place. And now, you're ready to hang it up and admire it for years to come.

Hanging Your Photo Frame
As all our handmade picture frames come ready-to-hang with a cord safely secured on the back, you won't have to worry about any fixings for the frame itself. You can focus on where it will look best in your room - and that's the important bit.
Whether you choose to hang your photo frame with traditional nails, or opt for a nail-free hanging solution such as Command Picture Hanging Strips, placing your frame in the right location is an important factor.
Hanging a frame too high or low can make it look out of place, so as a useful guide, we usually recommend to hang frames at eye-level.
Placing your art, prints or photographs in a high-quality frame is important to preserve your memories so they will last for many years. It's the perfect way to keep those special keepsakes safe so you can continue to enjoy them in decades time.
We hope you found this guide to framing your pictures and artwork useful. If you are looking for high-quality, handmade picture frames with real glass fronts, check out our collection at Abstract House.


